To send personalized certificates via Mailchimp, use merge tags to personalize and attach the certificates in your email campaign. Ensure your email list includes necessary recipient details.
Sending personalized certificates through Mailchimp is a straightforward process. First, you need to prepare your email list with recipient details like names and email addresses. Create your certificate template and upload it to Mailchimp. Use Mailchimp’s merge tags to insert personalized information into the certificates.
Attach the personalized certificates to your email campaign. This method not only saves time but also ensures each recipient receives a unique certificate. By leveraging Mailchimp’s features, businesses and educators can efficiently distribute personalized certificates, enhancing the recipient’s experience and engagement.
Credit: activitymessenger.com
Introduction To Mailchimp Certificates
Mailchimp is a popular email marketing tool. It helps create and send personalized certificates. These certificates can be for any occasion. Use Mailchimp to make each certificate unique. This makes the recipient feel special. Personalization boosts engagement and satisfaction.
Why Personalize Certificates
Personalized certificates make recipients feel valued. They show that extra effort was made. This can improve relationships. It also increases the likelihood of the certificate being cherished. Personalization can lead to higher open rates in emails. It enhances the overall experience for the recipient.
Benefits Of Using Mailchimp
Mailchimp is user-friendly. It offers a wide range of templates. Automation features save time. You can track email performance easily. The platform also provides detailed analytics. It integrates well with other tools. Mailchimp is a cost-effective solution for businesses of all sizes.
Credit: certifier.io
Setting Up Your Mailchimp Account
Create personalized certificates effortlessly using Mailchimp. Customize templates, upload recipient details, and automate email deliveries for a seamless experience. Boost engagement and recognition with tailored certificates.
Creating An Account
Visit the Mailchimp website. Click on the “Sign Up” button. Enter your email address, username, and password. Click “Get Started”. Check your email for a verification link. Click the link to verify your account. Log in to your new Mailchimp account. Follow the prompts to set up your profile. Fill in your name, business name, and other details. Click “Save and Continue” to finish.
Choosing The Right Plan
Mailchimp offers various plans. The free plan is good for small projects. Paid plans offer more features. Review the features of each plan. Choose a plan that fits your needs. Click “Select” to choose a plan. Enter your payment information for paid plans. Confirm your choice. Start using your Mailchimp account to send personalized emails.
Designing Your Certificate
Choose a template that fits your theme. Templates save time and effort. Make sure the template looks professional. You can find many free templates online. Some templates come with pre-designed borders and text. These make your certificate look neat and organized. Adjust the colors to match your brand. This keeps your design consistent.
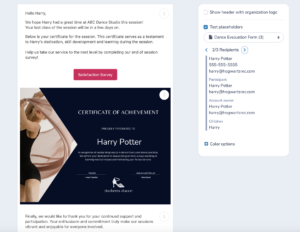
Personalize each certificate with the recipient’s name. This makes them feel special. Use a clear font for the name. Add the date and reason for the award. These details make the certificate more meaningful. Consider adding a signature line. This adds a personal touch. Use Mail Merge features to automate personalization. This saves time when sending many certificates.
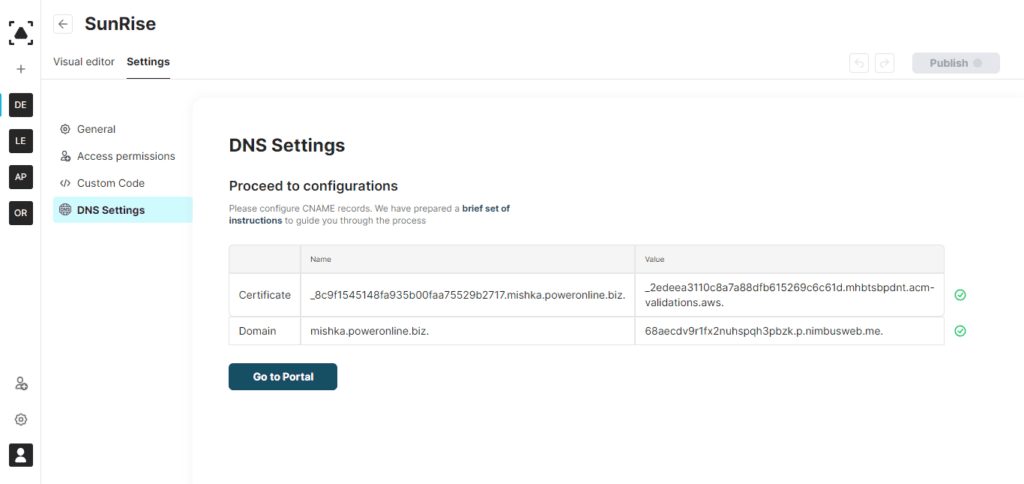
Credit: nimbusweb.me
Sending Personalized Certificates
Create and send personalized certificates effortlessly via Mailchimp. Customize templates, upload recipient details, and automate distribution with ease. Enhance engagement and recognition through professionally designed certificates.
Importing Contacts
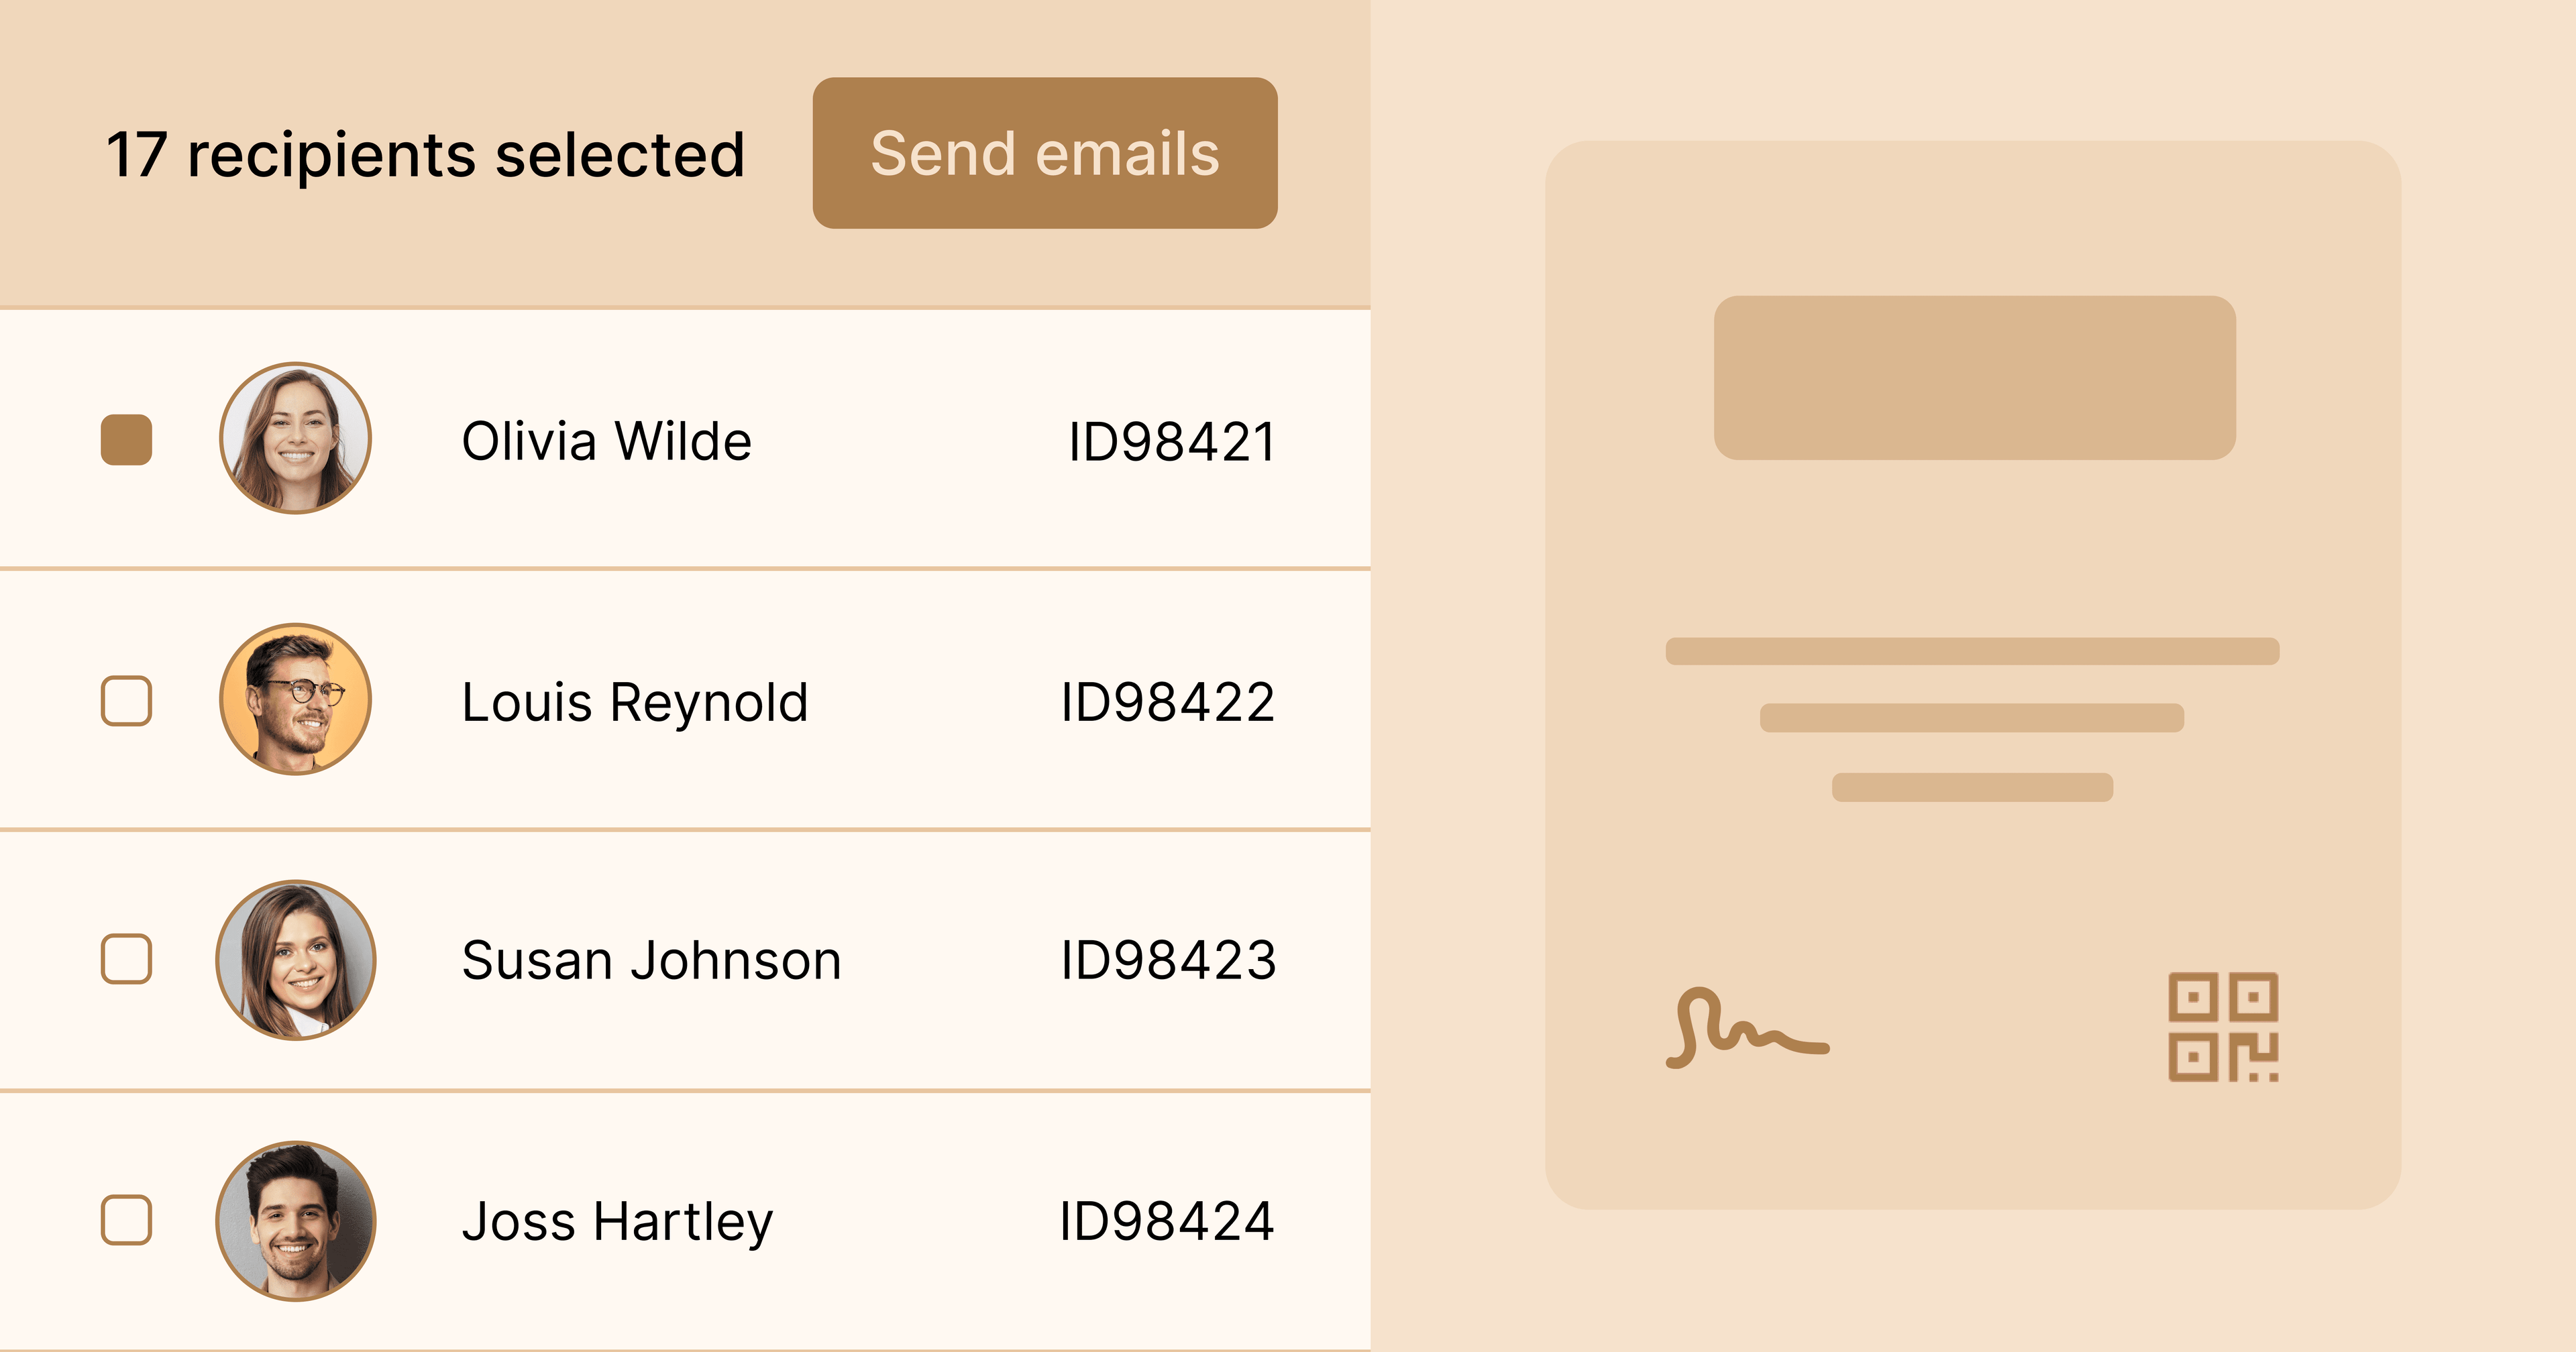
First, create a list of all contacts. Use a CSV file to import them into Mailchimp. Make sure each contact has an email address. Include other details such as names and dates. This will help personalize the certificates. Upload the CSV file to Mailchimp. Check that all contacts are imported correctly.
Automating Email Delivery
Set up an automated email campaign in Mailchimp. Choose the right template for your certificate. Use merge tags to insert personalized information. For example, use |FNAME| for the first name. This makes each certificate unique. Schedule the emails to send at a specific time. Review all details before sending. Ensure everything looks perfect.
Frequently Asked Questions
How To Personalize Certificates In Mailchimp?
Use merge tags to include recipient names and details in your Mailchimp email templates for personalized certificates.
Can I Automate Certificate Sending In Mailchimp?
Yes, you can automate certificate sending by setting up automated workflows in Mailchimp based on user actions or dates.
What File Format Should Certificates Be?
Certificates should be in PDF format for easy attachment and consistent formatting across all email clients.
How Do I Track Certificate Email Opens?
Use Mailchimp’s analytics to track email opens, clicks, and engagement for your sent certificate emails.
Conclusion
Sending personalized certificates via Mailchimp is simple and efficient. Follow our guide to enhance your email marketing. Personalization helps improve engagement and satisfaction. Start creating unique certificates today. Transform your email campaigns with these easy steps. Make your recipients feel special and valued.
Happy emailing!